


Car dent removal requires assessing damage and choosing tools like dent pullers and mallets. Proper preparation, including a clean work area, enhances success. This guide provides step-by-step instructions for DIY car owners, focusing on assessment, tool selection, surface prep, extraction, and smoothing for an effective, seamless finish.
Tired of unsightly dents marring your car’s exterior? Learn how to remove them like a pro with our comprehensive guide. This step-by-step tutorial covers everything from assessing and understanding different car dent types to gathering the right tools and materials. We’ll walk you through each process, ensuring efficient dent fixation. No more expensive body shop visits – take control of your vehicle’s appearance with these expert tips on car dent removal.
- Assess and Understand Car Dent Types
- Gather Tools and Materials for Removal
- Step-by-Step Guide to Efficient Dents Fixation
Assess and Understand Car Dent Types
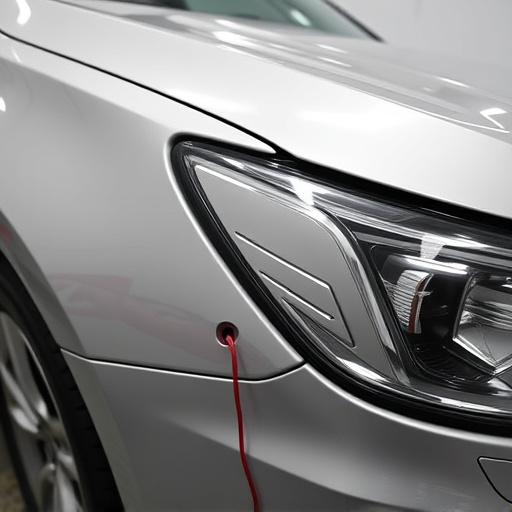
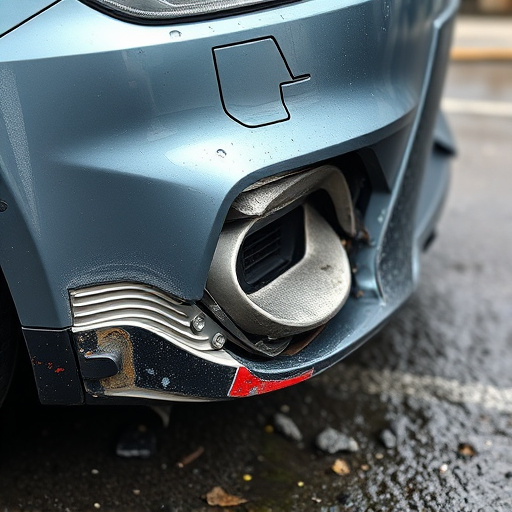
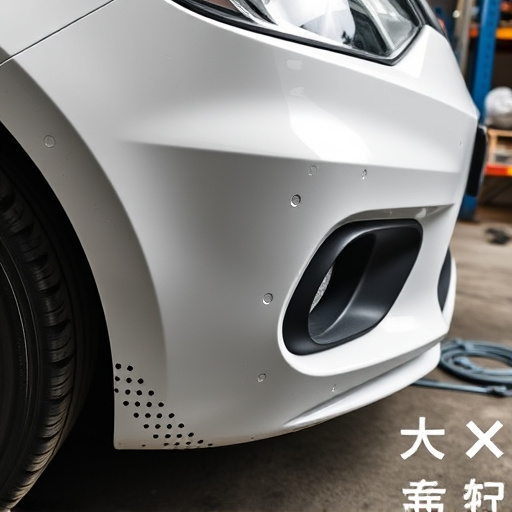
Before diving into any car dent removal process, it’s crucial to assess and understand the different types of dents that can occur. Car dents vary greatly in size, shape, and severity, from shallow scratches to deep, uneven depressions. Visual inspection is often the first step; look for signs such as metal misalignment, paint cracks, or areas where the dent has penetrated the car’s body panel.
Knowing whether you’re dealing with a minor ding, a large dent, or even a complex damage pattern will guide your choice of tools and techniques. For instance, a classic car restoration may require specialized tools to preserve the vehicle’s historical value, whereas a quick dent repair in an auto collision center might focus on efficiency and cost-effectiveness for more contemporary models. Understanding these nuances is key to selecting the right approach for effective and safe car dent removal.
Gather Tools and Materials for Removal
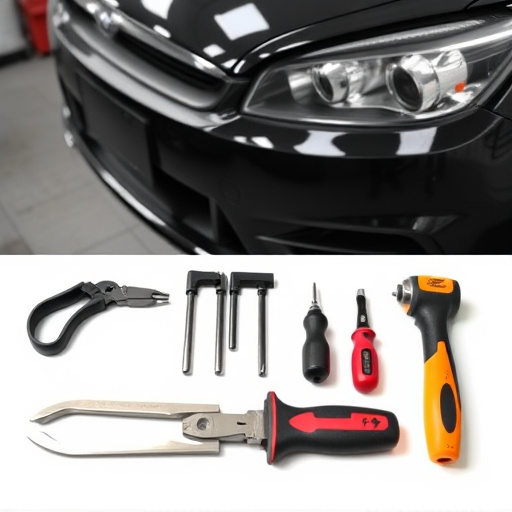
Before you begin any car dent removal process, it’s crucial to gather the right tools and materials. This DIY approach can save you a trip to an auto repair shop and the associated costs. Collect items like a dent puller or remover tool, which comes in various types and sizes to accommodate different dent shapes and severity. Also, pick up some rubber mallets, as they deliver precise force without damaging your car’s finish—a benefit over using heavy objects that could leave marks.
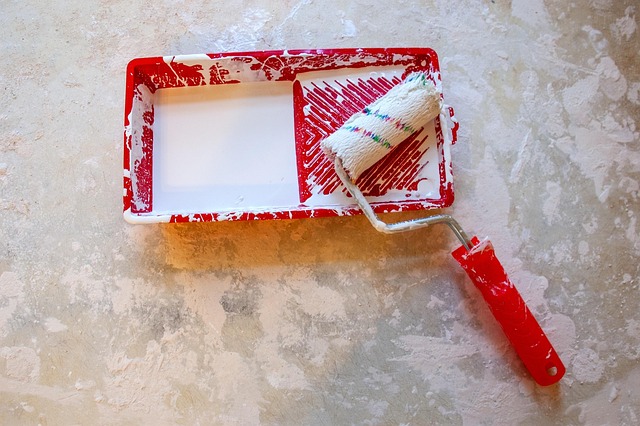
Don’t forget the importance of a good quality putty knife for auto maintenance and a can of touch-up paint to match your car’s color. Proper preparation is key; ensure your work area is clean, and the dented panel is dry before starting. These materials will enable you to effectively remove those unsightly dents and restore your vehicle to its former glistening self, avoiding the need for an auto painting session in most cases.
Step-by-Step Guide to Efficient Dents Fixation
Removing dents from your car doesn’t have to be a daunting task. With the right tools and techniques, you can efficiently fix those pesky dents like a pro. Here’s a step-by-step guide to help you get started on your car dent removal journey:
1. Assess the Damage: Begin by thoroughly inspecting the dented area. Identify its size, depth, and location. Different types of dents may require unique approaches, so understanding the extent of the damage is crucial for effective repair. Remember, early intervention is key to minimizing potential long-term effects on your car’s body panel.
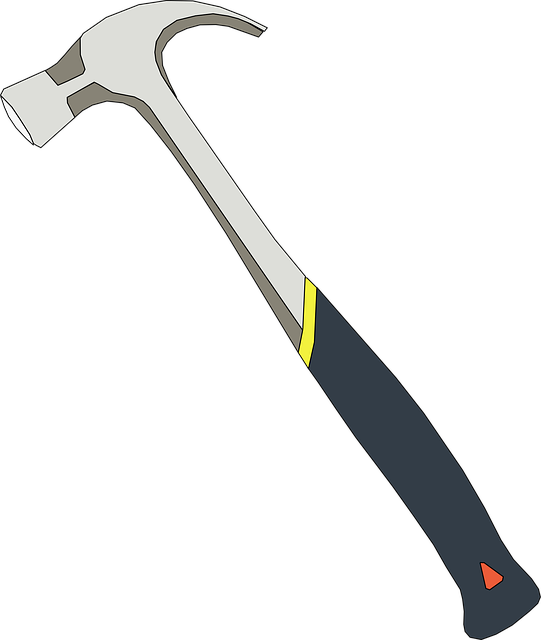
2. Gather Your Tools: Collect all necessary tools and equipment before beginning the process. This typically includes a dent puller or remover, a hammer, rubber mallets, and possibly some putty knives. For more severe dents, consider investing in a high-quality dent repair kit designed for car owners. These kits often include specialized tools and compounds to ensure professional-grade results.
3. Prepare the Surface: Clean the damaged area thoroughly to remove any dirt or debris. A clean surface ensures better adhesion during the repair process. You can use a mild detergent and warm water, followed by a quick rinse. Allow the panel to dry completely before proceeding.
4. Remove the Dent: Using the dent puller or remover, gently apply pressure to the tool while guiding it along the contour of the dent. Work slowly and carefully, as sudden movements might cause further damage. The idea is to slide the tool behind the dent, lifting it out from the surface. For more stubborn dents, a rubber mallet can be used in conjunction with the puller for precise adjustments.
5. Smoothen and Blend: Once the dent is removed, inspect the surrounding area for any imprints or inconsistencies. Use putty knives to apply automotive body fill or compound along the edges of the repaired dent, smoothing it into the adjacent panel. This step ensures a seamless finish that blends with the car’s original surface.
Removing dents from your car doesn’t have to be a daunting task. By understanding different dent types, gathering the right tools, and following a structured guide, you can efficiently restore your vehicle’s appearance. Remember, proper assessment and a systematic approach are key to achieving professional-looking results in car dent removal.